Friday, March 25, 2011

Steering Box Refresher

March 25, 2011-
A week or two ago, Andrew and I went to a junk yard and took several pieces off another 74 2002. One of those parts was a steering box. This would allow me to rebuild the steering box while leaving the current on in the car and thus still driveable.

The current box in the car is covered into it's own oil (a common problem I hear).
So I bought the two seals and gasket package from Blunt Tech and decided to rebuild the box.


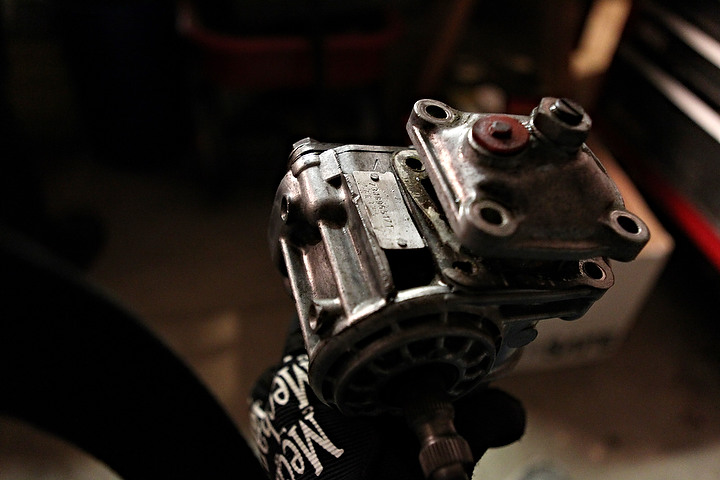
First I had to drain the oil from the junk yard box which is easily done by removing the red cap on the top of the box. The oil coming out was thick so I let the box sit overnight over an oil drain pail.

I first removed the top 4 bolts. Due to age and suction, the top cap might not want to come off at first, but it you push up on the main spline (originally connected to the idler arm) the whole unit should pop up.


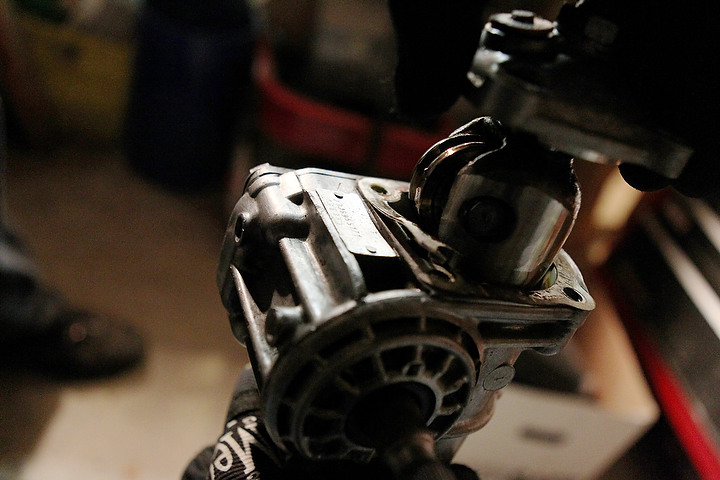
Next you have to unbolt the 4 bolts on the back plate. This was difficult as two of the bolts are allen bolts (which I hate). Don't try to do this with an allen key, as these four bolts are torqued on pretty tight and you'll nearly strip the allen thread. Instead I used an allen socket which did the trick.

Once removed you'll find the back plate and three shims: thick, medium and thin.


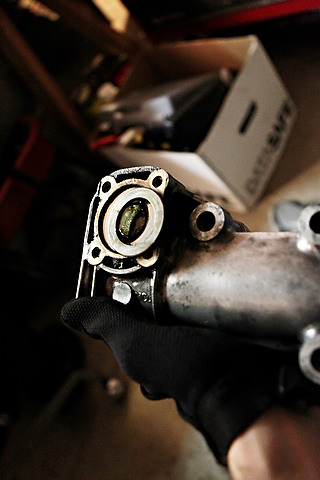
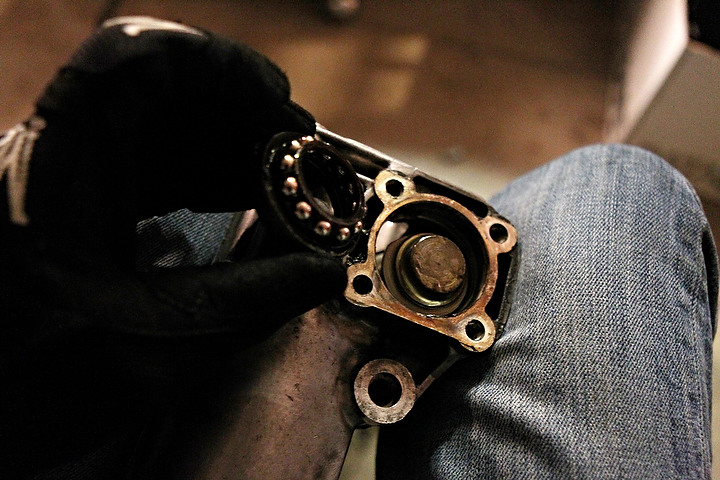
Getting the this gear out may also require some back pressure on the opposite end.

After the gear, bearing and various rings we out i cleaned everything with the degreaser and then rinsed the various bits.

Once dry, I reassembled the box, in reverse order, but replaced the 2 seals and paper gasket. I also added some oil to the tight spots during the reassembly to make sure it go into every crevice

The service manual said to torque the back plate screws to 14 lbs per sq in, which I did.

The last bit was to fill the box with oil. I used Castrol 80-90 Hypoid gear oil.

Voila! A refreshed gear box ready to be installed when the rest of the suspension rebuild parts come!

Sunday, March 20, 2011

More details on the Sunroof removal!

For those of you wondering, heres how we got the sunroof out.

Because the sunroof was jammed, and the liner was both torn and held in place with screws (thats not stock as far as I can tell) I cut it. Turns out that its possible to get the liner free without cutting it (as you might expect). You simply need to have the sunroof slightly back and pull the liner forwards. On the right side of this image you can see the clips the hold the liner frame in place, I had to bend them to get the frame loose. The brace running through the middle of the image is part of the liner frame.
The liner frame itself sits in a track (the same parts as the roof, but the track is seperate and a fraction lower) and can be pushed back out of the way once free.

At the front corners are 2 pairs of screws, these are what hold the roof to the track followers and are also used to adjust the height and levelness of the roof.
You need to unscrew all 4 of these, its much easier if you can move the roof back an inch or two!
Once the screws are out the brackets that run in the track will come free (quite possibly falling in your face).


Next are these devices on the right.

They make the back of the sunroof drop down as it moves back, ours had poked holes in the headliner. I have no idea if thats because of a lack of padding or if maybe they are bent.

Behind them you can see a long clip that hooks under the far side of the long rod with the spring. You need to press that clip down and away so it frees the end of the rod. You also need to remove the circlip and spring.

Once the circlip and spring are removed you can slide the block that holds the top pin back. This frees up the back of the sunroof!

You can now (with 2 people) lift the sunroof out).

And discover, like us, that the aluminium track is corroded and not flush in places.

I don't have pictures, but you can also look back into the area where the sunroof hides and see the 'interesting' design.
Heres a shot of the track and the cables. Most of the brown around the track is dirt, but theres a lot of rust there. The seals were long gone and one of the 4 roof drains was blocked (the back ones might be blocked too, but its hard to tell). Theres also a ton of surface rust back in the box where the sunroof hides. But its fairly recent and not deep.

The originalty of the sunroofs motor was something we discussed a lot. The wiring certainly didn't help convince us, not only is there lots of duct tape and random splices, but the supply wire coming from engine bay doesn't seem to be original. Its a skinny little wire thats not even close to the 16A rating of the designated fuse in the fuse box, plus its not bundled in with the wiring loom.

That said, the bracket for the motor and switch certainly looks original.

I think it must be stock, but for some stange reason a PO messed with the wiring.

But hopefully this post inclues usefull information if you need to work on a 2002 sunroof!

Friday, March 18, 2011

Electric sunroof dismantle

The sunroof didn't work when I picked up my 74 Tii a month ago. Today, my brother in law and I took apart the factory installed electric sunroof.

I am considering converting it to a hand crank sunroof. But I feel like electric makes it pretty unique. Thoughts? I am trying to keep this car completely stock, but would an electric sunroof be considered stock? See the pictures below and tell me what you think.

The car up on jacks in my tiny city garage.


With the sunroof removed we found quite a bit of surface rust.


The metal square on the left is the metal track for the bottom of the sunroof flanked by torn bits of headliner.


Who ever wired the electric sunroof did a pretty crappy job. Duct tape?! Really?


The motor out. I figure I will hook it up to a 9V and see if it works. If not. Not sure what I should do. Convert it to a hand crank sunroof? But I feel like electric makes it pretty unique.